How to Install Underfloor Heating with Studded Plates
Installation instructions
FLEXIRO thin-layer underfloor heating with studded panels is a system kit optimised for easy retrofitting of existing heating systems in single rooms such as bathrooms or kitchens. All the necessary components are included in the kit. The use of our flexible 10 mm multi-layer pipe not only provides additional installation options compared to conventional underfloor heating systems, but also ensures a low installation height and extremely even heat distribution.
The installation of the thin-layer heating is simplified by the use of plug-in connectors and RTL boxes for connection to conventional heating systems, making the FLEXIRO kits suitable for DIY enthusiasts. The following instructions illustrate the main installation steps using a test set-up for the studded panel installation variant. A detailed installation manual is supplied with the heating kits.
Installing underfloor heating with studded panels
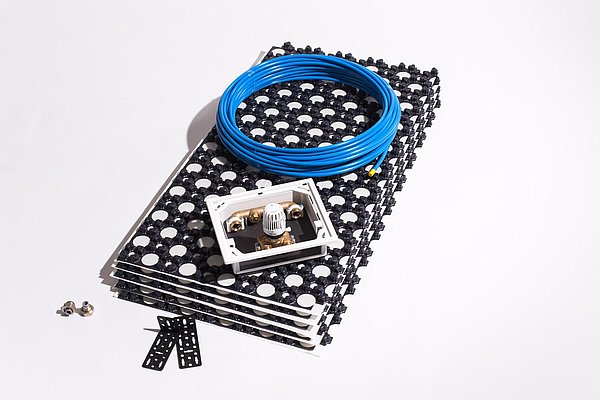
Components
For details of the set components of the underfloor heating with studded panels, please refer to the PDF installation instructions and the corresponding product page. You can also find additional accessories and suitable tools in our shop.
Note
Despite the simplified installation, the following still applies to FLEXIRO thin layer underfloor heating: Work on heating systems requires sufficient technical knowledge and skills. If in doubt, have the installation carried out by a specialist.
1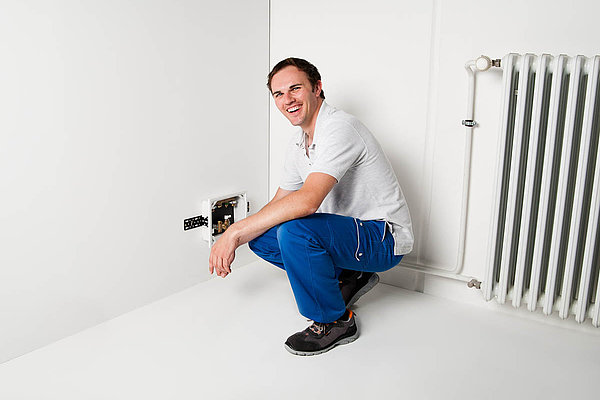
Layout of heating circuits and components
Determine the arrangement of the heating circuits. The location of the control box must be such that the heating pipes of all the heating circuits can be routed directly to the control box without extending the heating pipes.
Attention
- Set 2.5 m² = 1 heating circuit
- Set 5.0 m² = 2 heating circuits
- Set 7.5 m² = 3 heating circuits
- Set 10.0 m² = 4 heating circuits
In principle, the underfloor heating pipes can be shortened. However, care must be taken to ensure that the differences in length between the individual connections are not too great (max. 15% difference in length).
2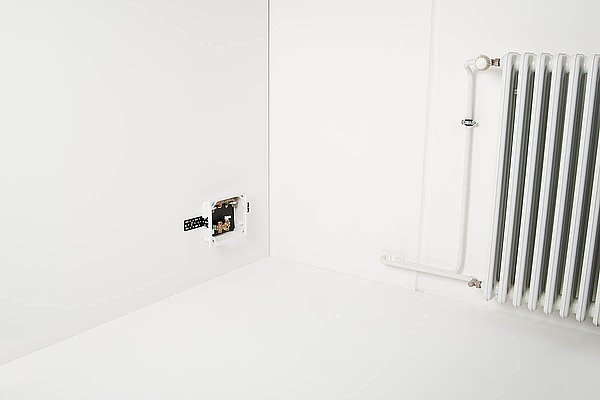
Positioning of the components
The existing substrate must be level, clean, dry and stable. Any primer can be applied.
Before the pipework is laid, the position of the underfloor heating manifolds is determined so that it is clear where the pipework is to be routed.
The arrangement of the heating system and the position of the control boxes can be customised. However, the RTL valve should remain accessible after installation. The distance from the floor should be at least 20 cm so that the pipe ends can still be inserted into the individual connections after the manifolds have been installed.
3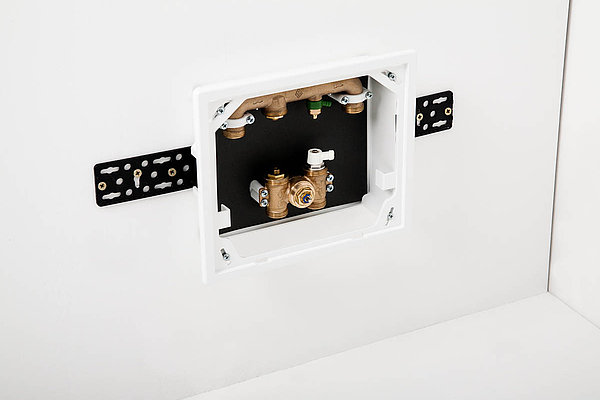
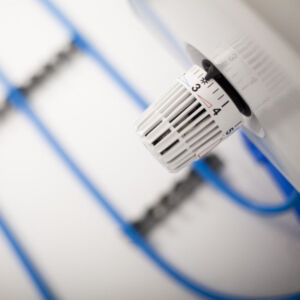
Mounting the RTL box
For accurate and efficient temperature control, the RTL box should be positioned so that the thermostatic head can measure the temperature of the room air and the air can flow freely around it.
Please refer to the RTL box installation and operating instructions supplied separately.
4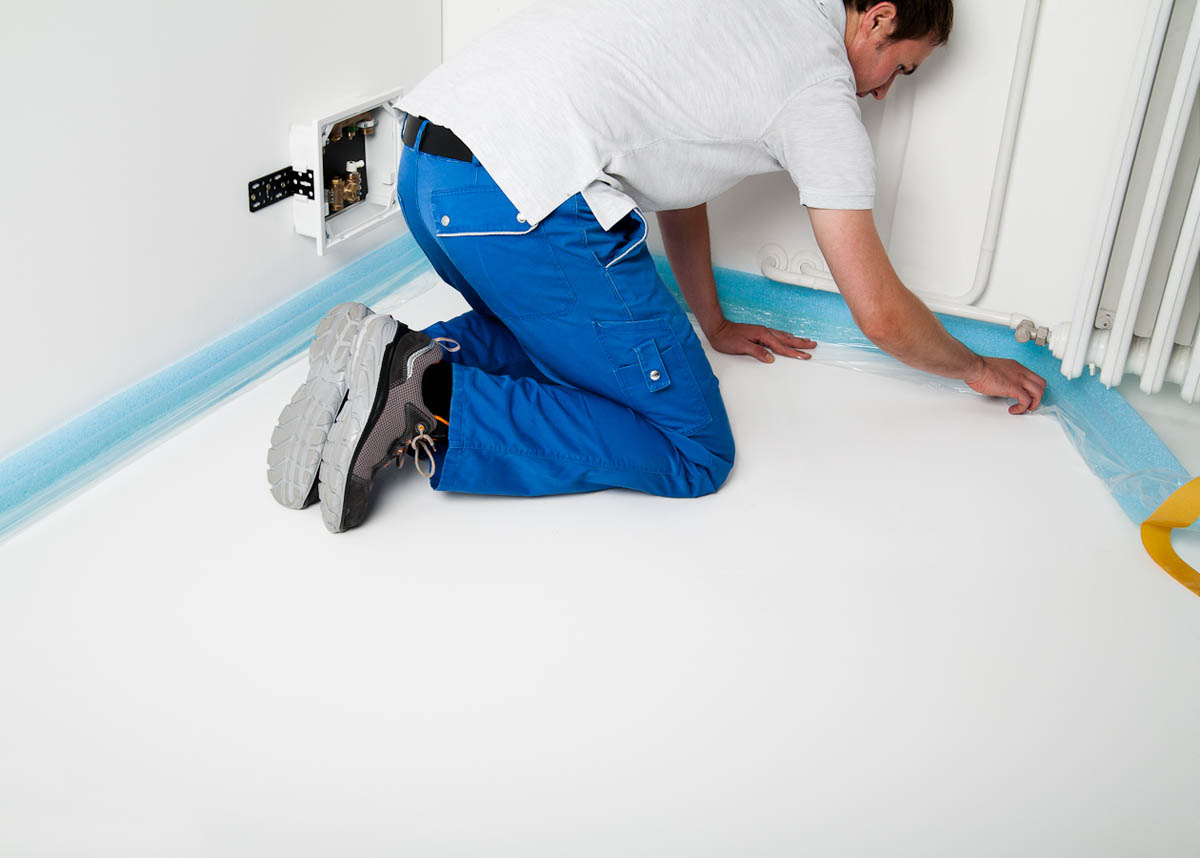
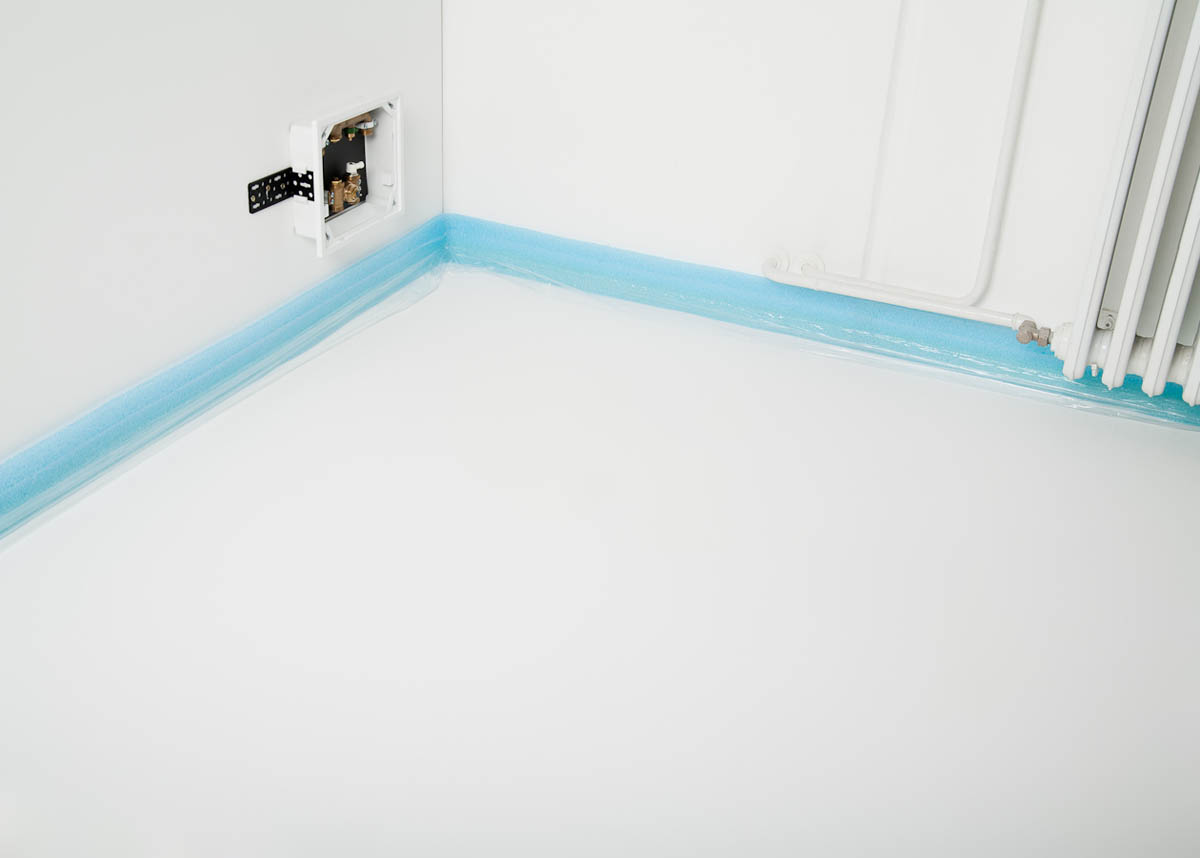
Installation of the edge insulation strip
The next step is to lay a strip of edge insulation, at least 20 mm wide, around the area of the floor that is to be heated. Columns or similar should also be surrounded by the edge insulation strip to allow the entire floor structure to expand.
The edge insulation strip will later be filled with permanently elastic grout.
5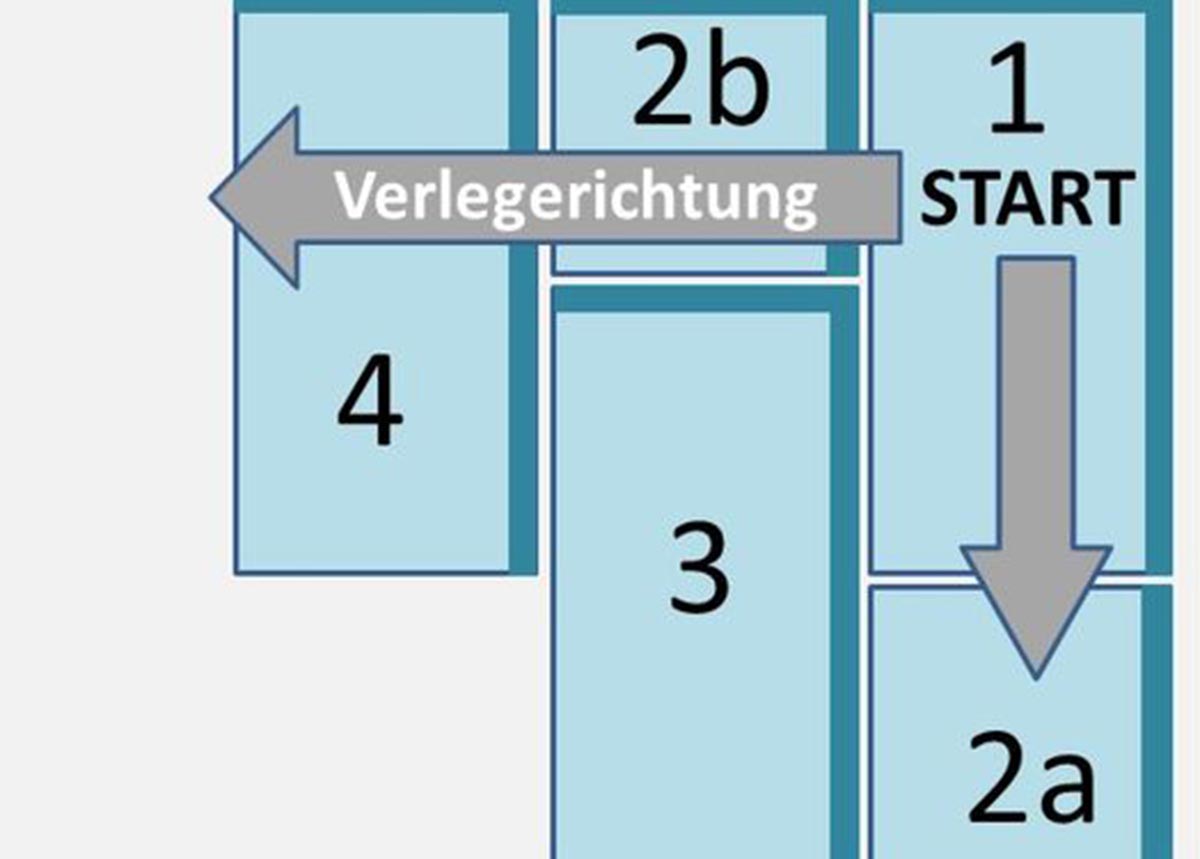
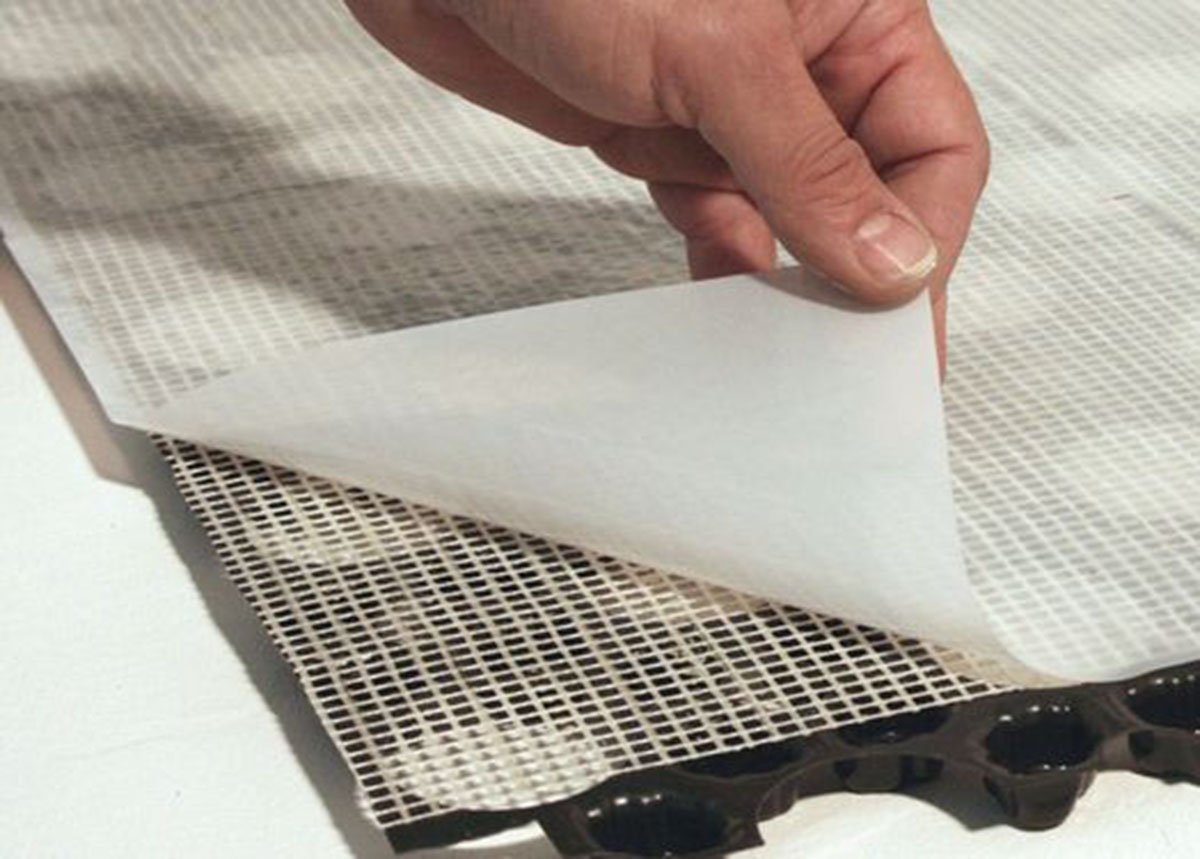
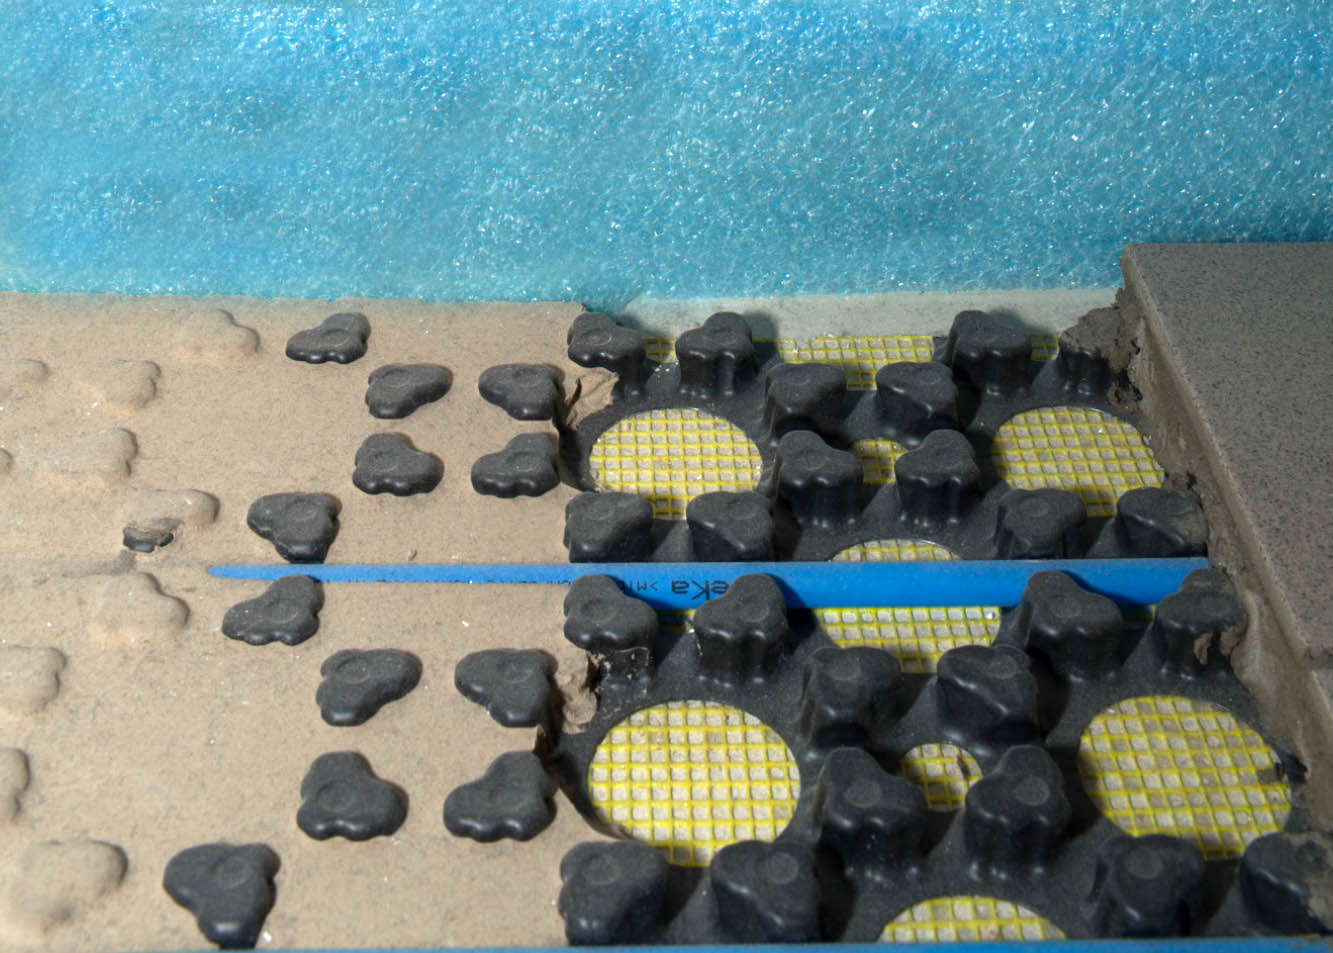
Laying studded plates
Before installation, the intended heating area must be transferred to the floor. The studded panels must be cut to size as required.
Caution: The studded tiles are asymmetrical! Therefore, pay attention to the installation direction. The overlapping edges are free of adhesive grid and film. They are also not cut smooth, but "wavy". These edges are marked dark in the sketches. To ensure that the installation plan is correct, you can test the installation of the dimpled sheets before removing the protective film.
To fix the studded sheets in place, remove the protective film, position the sheets with the adhesive side facing downwards and press them into place. It is important that the direction of installation is correct and that the studded plates are positioned correctly. The second studded plate is placed overlapping the first at the edge.
The plates are joined by pressing the overlapping studs together. Remove the film from the second studded sheet and press the sheet firmly into place. Repeat until the room is covered with studded plates.
6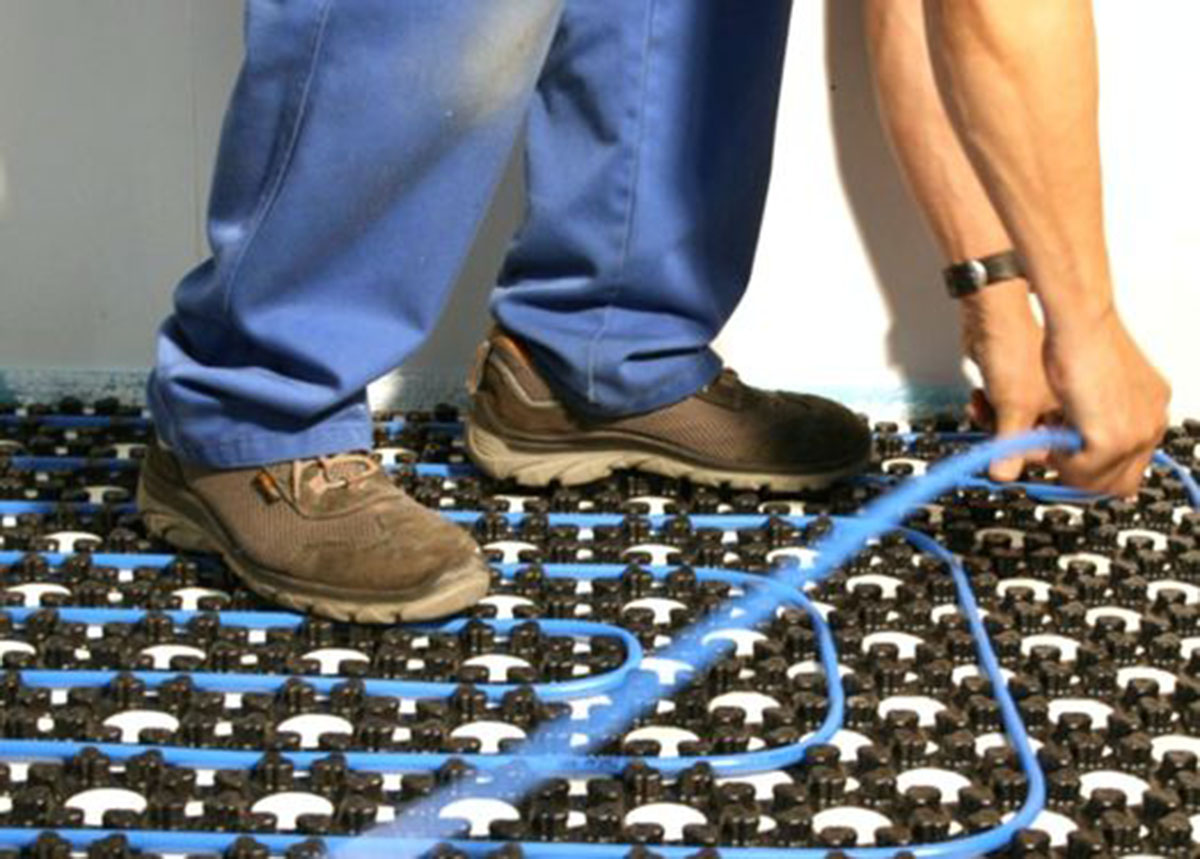
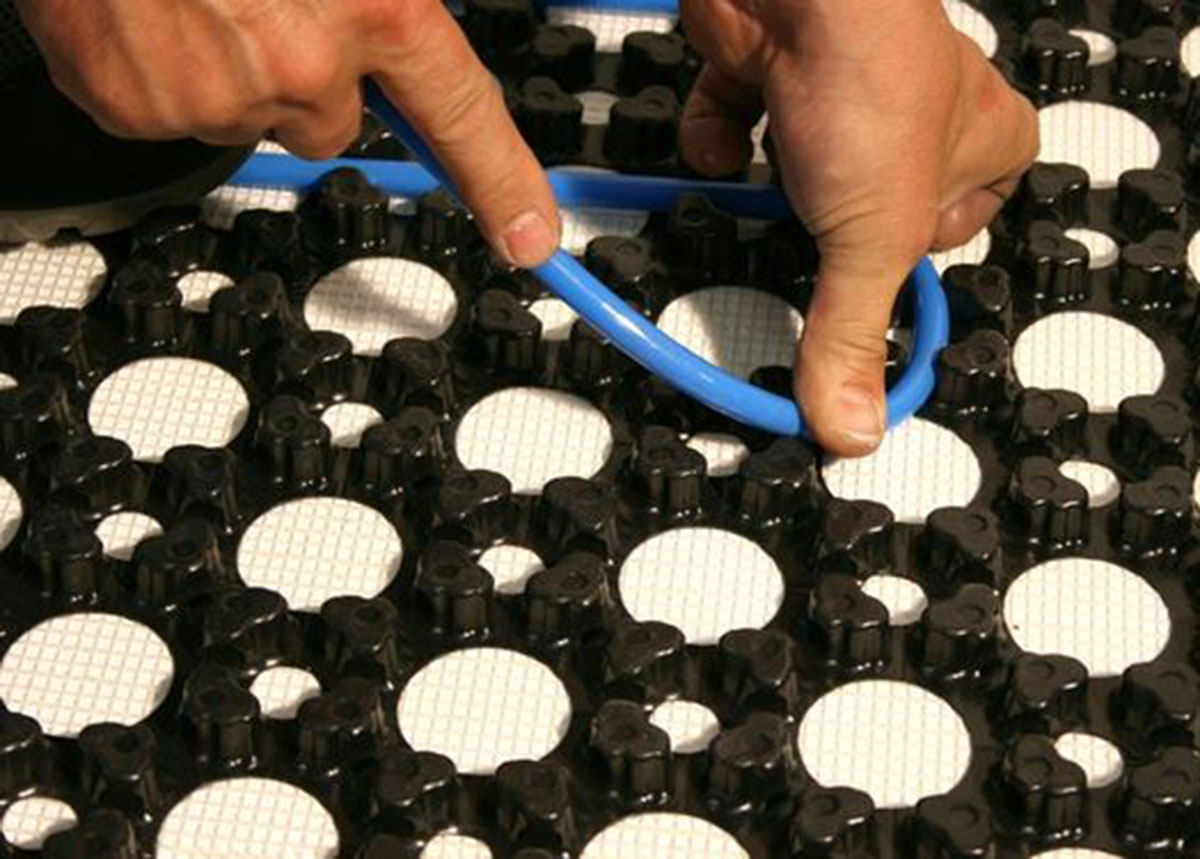
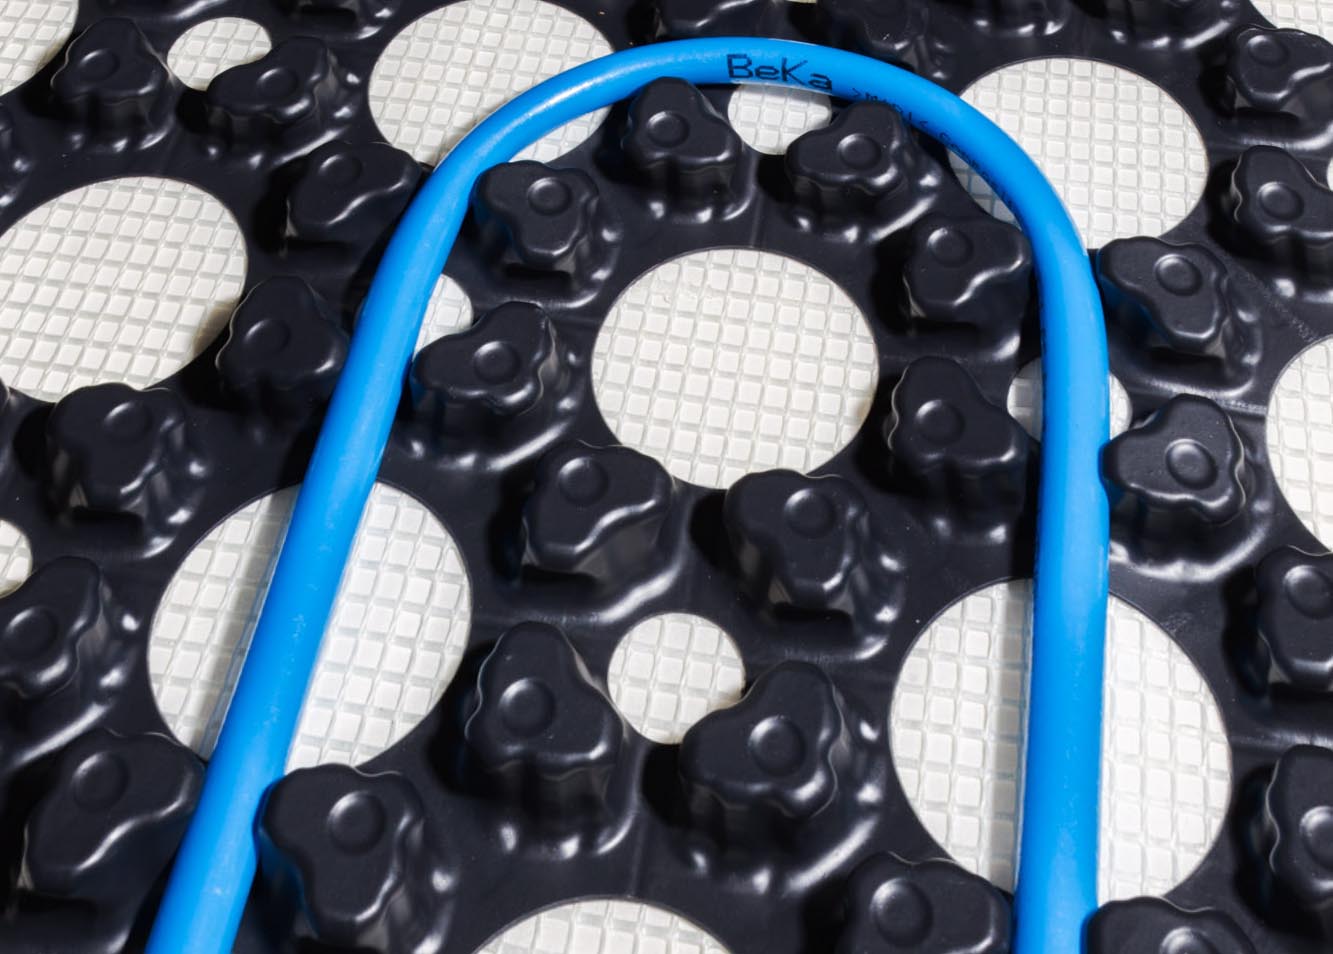
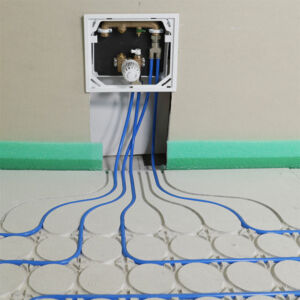
Laying the heating pipe
Ideally, the laying of the heating pipe should start close to the manifolds to minimise the length of pipe required for the connection. The minimum distance between the pipes is 10 cm. The distance between the underfloor heating and the walls of the room should be at least 5 cm.
The pipes must be laid without twisting. If studded tiles are used, a spiral installation is recommended. As well as providing a very even heat distribution, it has large radii that make it easier to install without twisting. Care should be taken when walking on the studded plates. Before pouring the filling compound, ensure that the pipe is fully fixed and that the studded plates are firmly in contact with the floor. Dowel hooks can be used as an alternative.
If the heating pipe has been damaged
The heating pipe should always be cut straight and burr-free. It must not be crushed or kinked. Kinked or damaged sections of the heating pipe must be cut out. The pipe must be reconnected using a permanently tight coupling. The coupling must be protected from direct contact with the casting compound by wrapping it in PE film. Mark the position of the coupling. After this repair the pipes may need to be extended.
7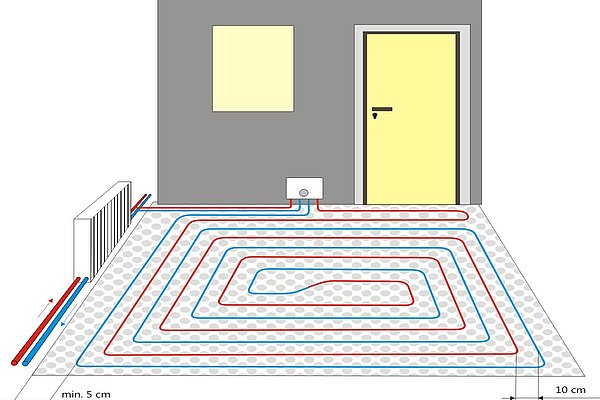
Installation layouts for underfloor heating with studded panel
Various styles of installation are possible and can be adapted to suit the space available. However, spiral installation is more suitable for use with studded sheets due to the less tight bending radii. If a meandering installation is used, the use of dowels is recommended. Pipe crossings should be avoided at all times when planning the installation in order to take full advantage of the low installation height of thin layer underfloor heating.
8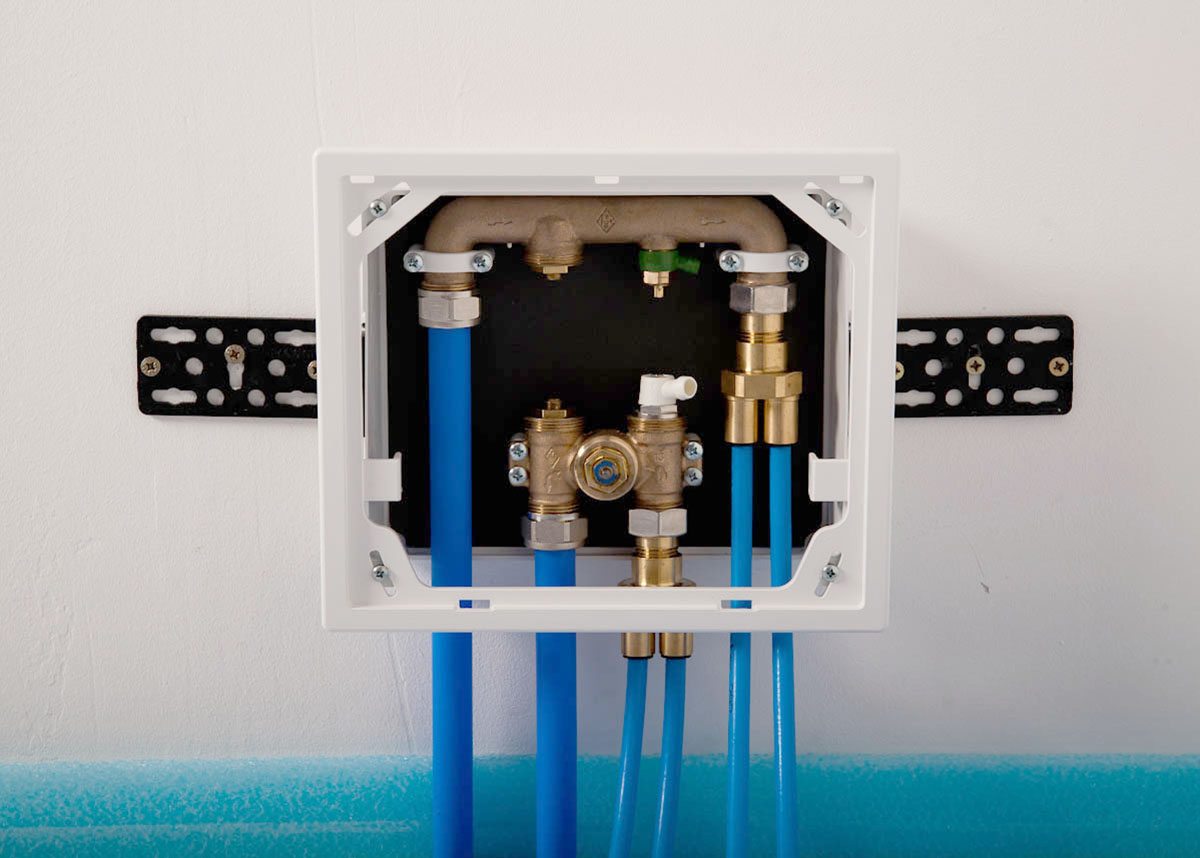

Connection to the RTL box
The manifold fingers are connected to the RTL box with a Eurocone screw joint. The Eurocone has a self-sealing effect, while the metal screw connection has a purely locking function. Over-tightening must be avoided at all costs in order not to compromise the tightness of the heating system.
The heating pipes are connected in the manifold fingers by means of a simple plug-in installation. The heating pipes, which are cut straight and shortened if necessary, are inserted directly into the plug-in connections of the manifold fingers as far as they will go.
9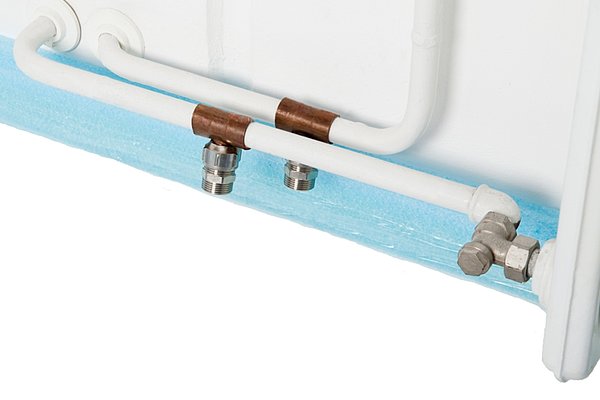
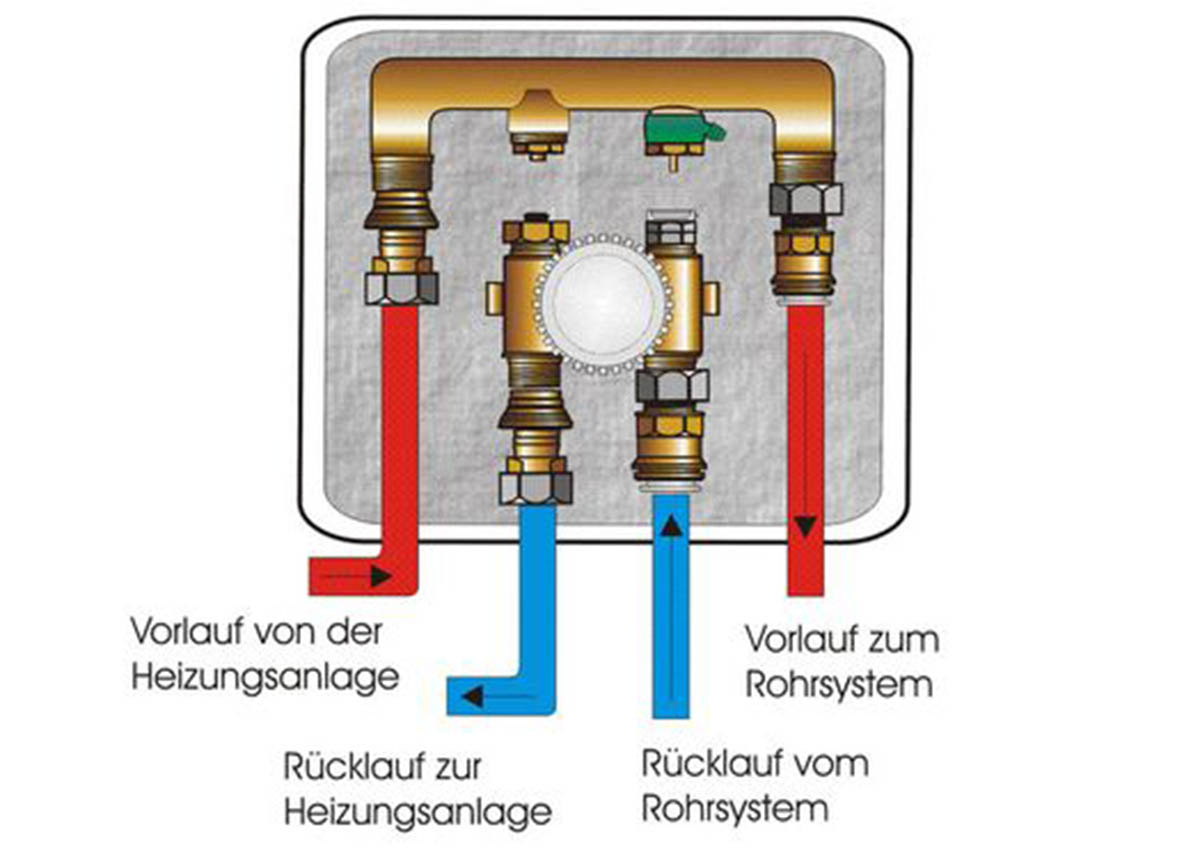
Connection to the heating system
The FLEXIRO underfloor heating is normally integrated into the existing heating system in parallel with other radiators or as a replacement for an old radiator. Both is possible.This is done by inserting a T-piece (not supplied) into the flow and return pipes of the heating system.
Make sure that the flow and return are correctly assigned in the RTL box. Reversing the flow and return in the control box will disable the thermostatic valve and prevent the underfloor heating from operating.
10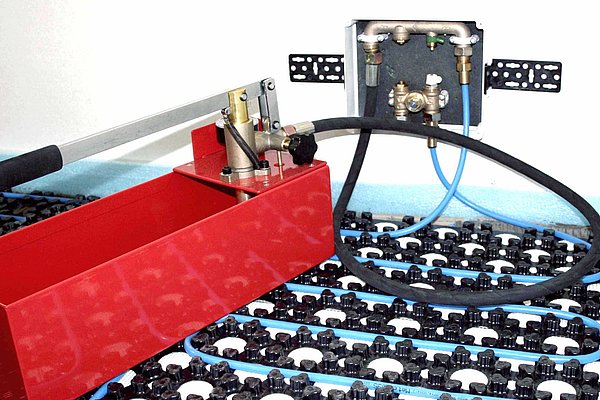
Carrying out the pressure test
Before commissioning the underfloor heating system it is essential to ensure that the system and all associated components are correctly installed and tight. The pressure test pump is available as an accessory in the shop.
See video for exact procedure and connections for pressure test
11Test run of the underfloor heating
We strongly recommend carrying out a test run of the underfloor heating before covering the pipe system with levelling compound. This is the last opportunity to correct any installation errors or damage!
12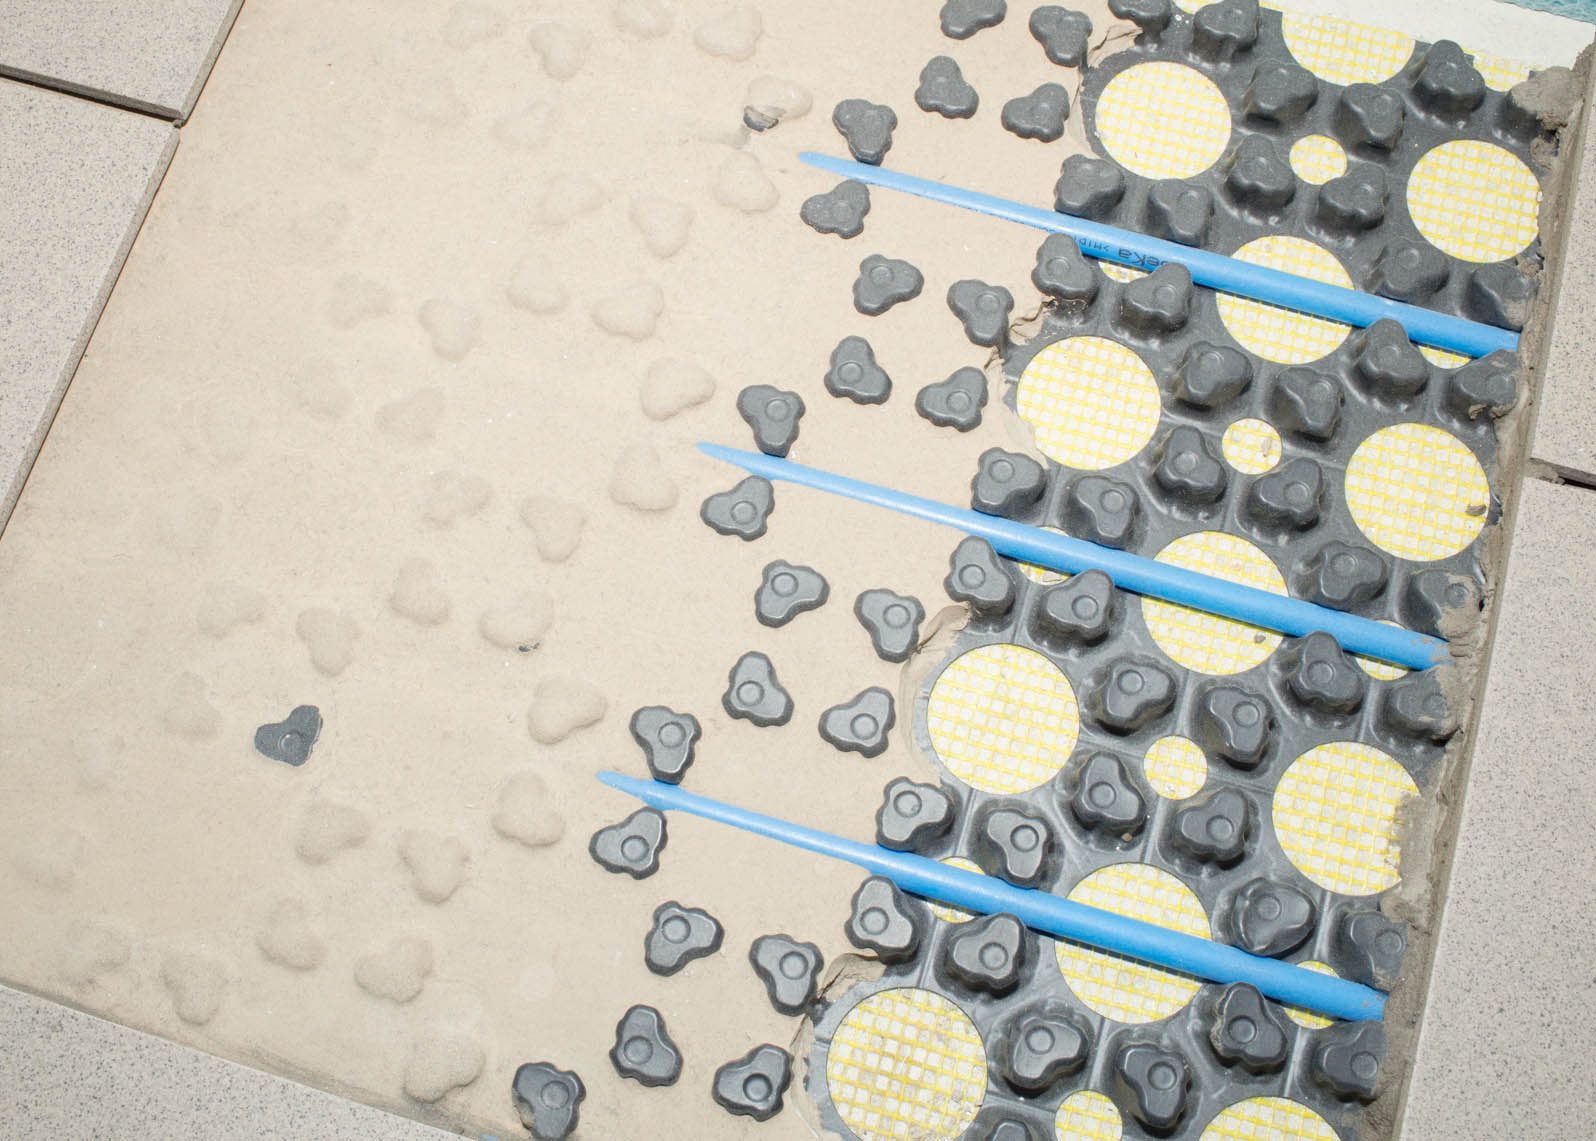
Applying the levelling compound
When selecting a suitable construction compound (levelling compound) for underfloor heating systems, the "flexible" property must be ensured. The underfloor heating must be switched off when applying the levelling compound! The minimum construction height is 12 mm if a ceramic covering is chosen. For other surface coverings, the levelling compound should have an additional cover of at least 5 mm of the heating pipe. All coverings must be marked 'suitable for underfloor heating'.
13Commissioning the underfloor heating
Once the surface covering has been completed and allowed to dry naturally, the heating process can begin. If the floor is to be tiled, the underfloor heating should not be switched on until the tile adhesive is fully hardened. Heating is usually carried out according to a heating protocol. Follow the manufacturer's instructions for the construction chemicals used.
14Finally
Despite the simple design of the underfloor heating system and the ease of installation, we must point out that, as the manufacturer, we can only guarantee correct delivery from the factory and not installation and connection by third parties. Please also observe the current standards and regulations for heating systems.
Also watch our animated video to see the main assembly steps.
FLEXIRO wishes you every success with your project!
19-
 Installation Guide - DIY Underfloor Heating Kit with Knobbed PlatesComprehensive installation guidelines with all required information for retrofitting a low profile wet underfloor heating using knobbed plates.978 KB
help
The Bostik company says yes! However, floating timber structures are not permitted as they are highly susceptible to deformation. Installation is therefore only possible on fixed timber structures, whereby these must be uncoupled. Please contact us for further information on laying on fixed timber structures!
The existing substrate must always be level, clean, dry and load-bearing.
FLEXIRO underfloor heating can be installed on OSB boards. Bostik's instructions clearly state that the OSB boards must be bonded to the substrate. Floating OSB boards are not suitable. The OSB boards must be primed before laying the FLEXIRO underfloor heating. In this case, the pipes should be covered with at least 5 mm of screed.
Due to the installation of the low profile underfloor heating directly below the surface, additional insulation is not required in most cases. This keeps the installation height low. Exceptions are floors above unheated basements and the ground. The requirements of the Energy Saving Ordinance must be observed. Further information on thermal insulation for underfloor heating
The low profile underfloor heating is designed for mounting directly on the existing surface. The modernisation of an existing and already insulated floor usually does not require additional insulation of the underfloor heating. Therefore we only sell special insulation boards for bathrooms and other wet areas. Additional floor insulation can be bought at any specialist store. Once the insulation has been applied, you need to ensure a stable surface before installing the underfloor heating.
DIY underfloor heating kits